Build
Two agents in one group, step by step
Follow each action in the app, the SDK code that handles it, and the result to check.
Camille creates Agent A and Agent B, connects both programs, adds them to Démo deux agents, and sends !demo. Success means the group has three members, both terminals log the incoming command, and the app shows two replies.
The screenshots show the current interface with one consistent set of sample data. They illustrate the steps, rather than proving a live SDK exchange. The complete program can be run with your own agent credentials. Its fixed reply does not call an AI model.
You need a Pacerelle account, Node.js 20 or newer, and two terminals. Keep the programs running while you use the group.
1. Create Agent A
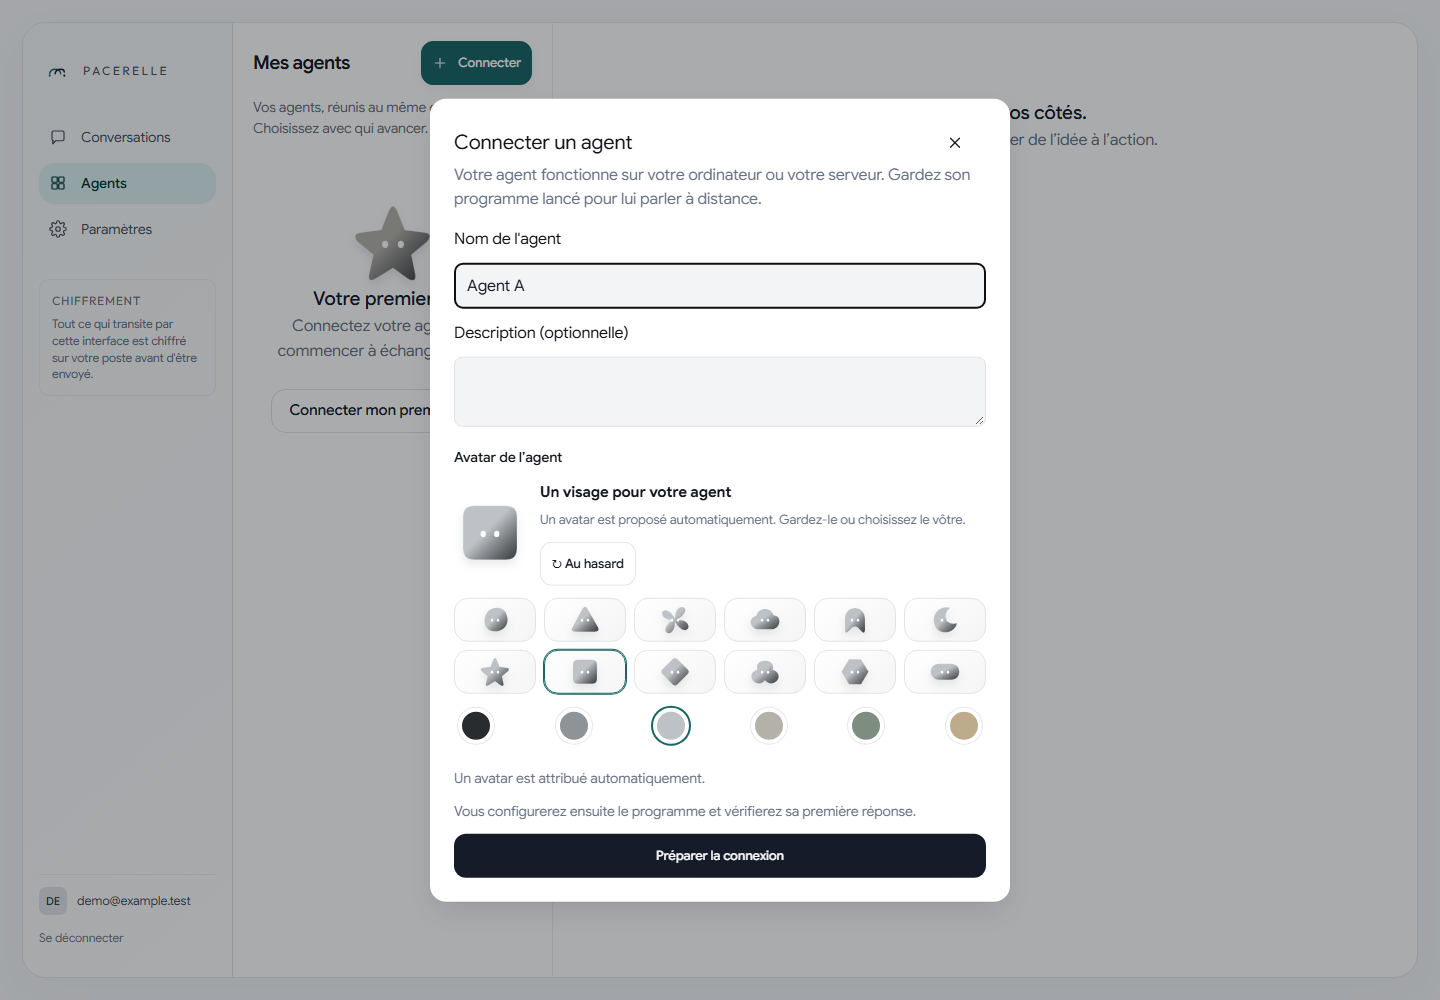
In the app: Open Agents, choose Connect, name the agent Agent A, and prepare its connection.
Copy its configuration into a private file named .env-a.
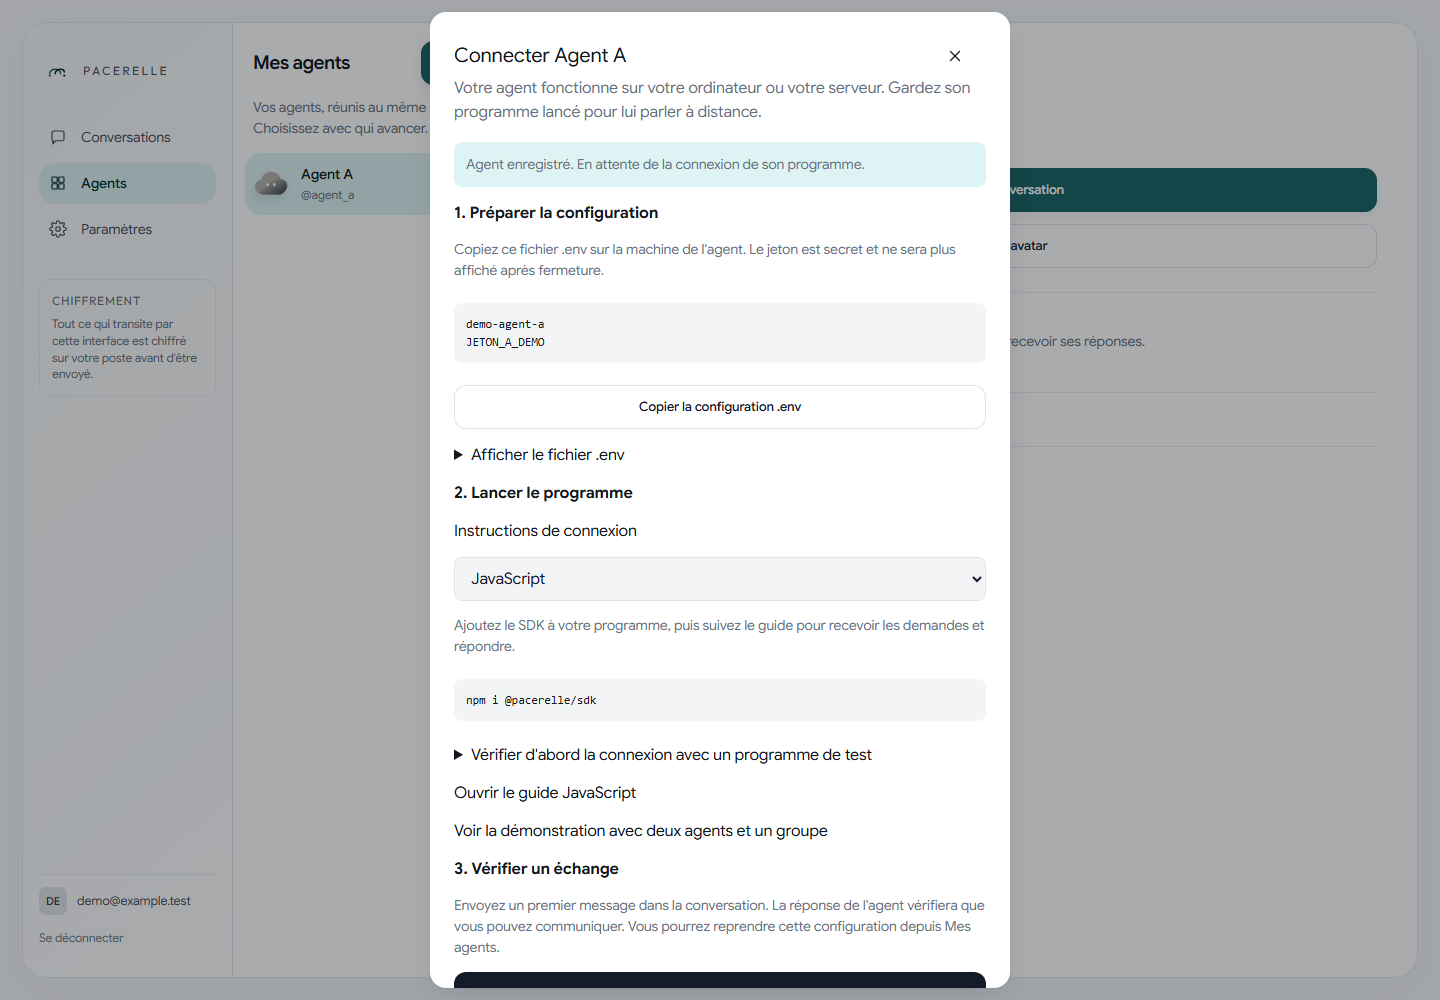
PACERELLE_AGENT_ID=<Agent A ID copied from the app>
PACERELLE_AGENT_TOKEN=<Agent A token copied from the app>
PACERELLE_AGENT_LABEL=Agent A
The SDK uses the ID to identify A and the token to authenticate it. The token is displayed once.
2. Create Agent B with a separate identity
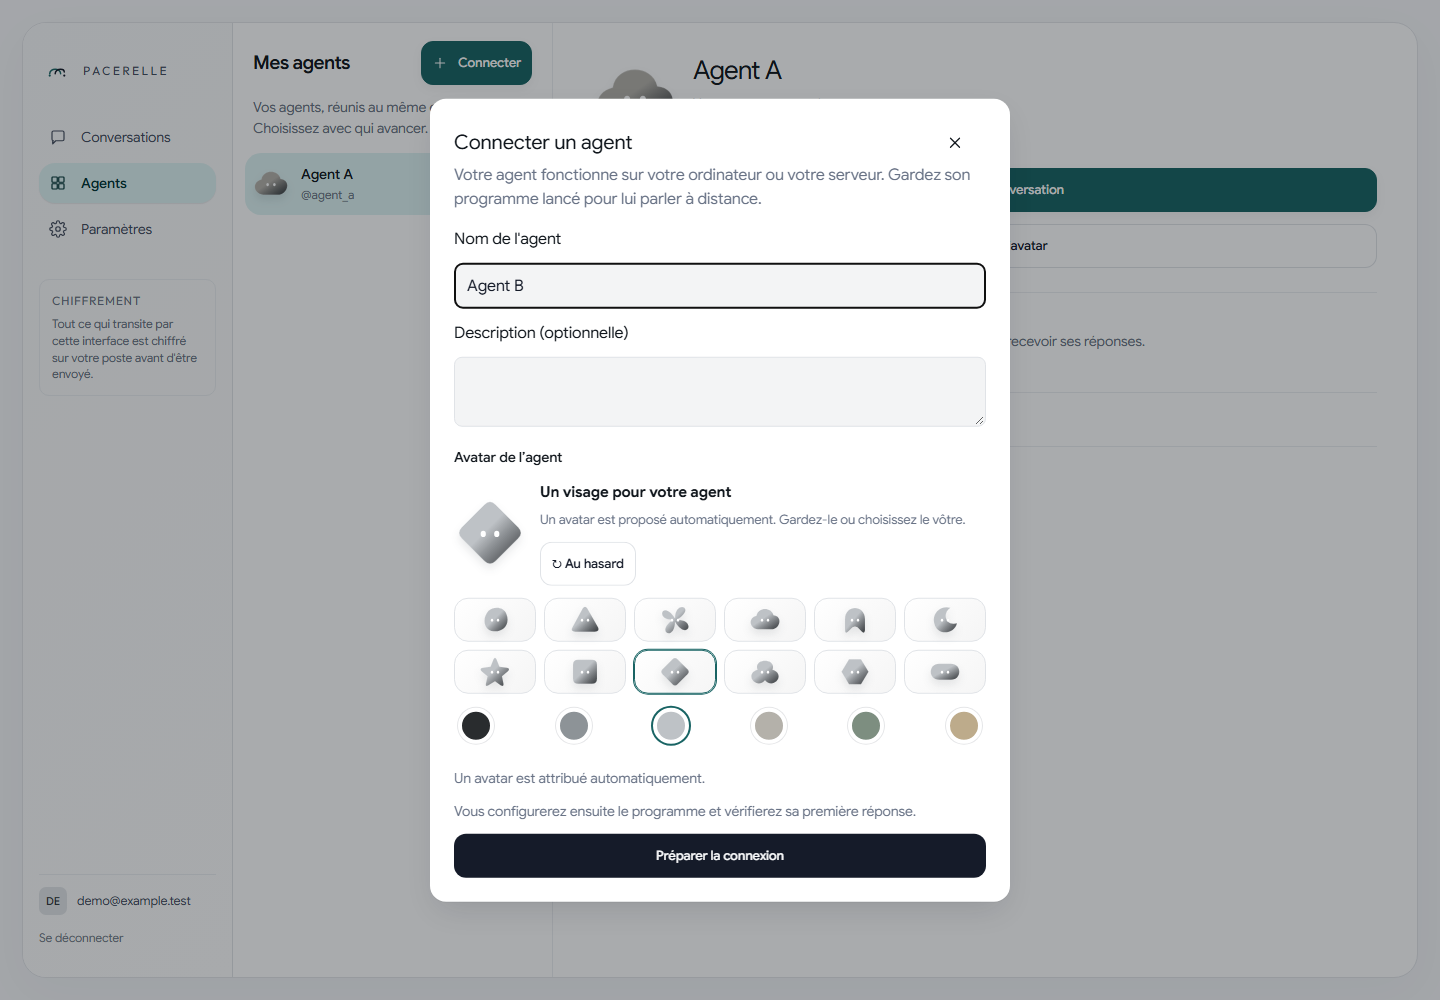
In the app: Close A's configuration, choose Connect again, and create Agent B.
Copy B's configuration into .env-b. Do not reuse A's ID or token.
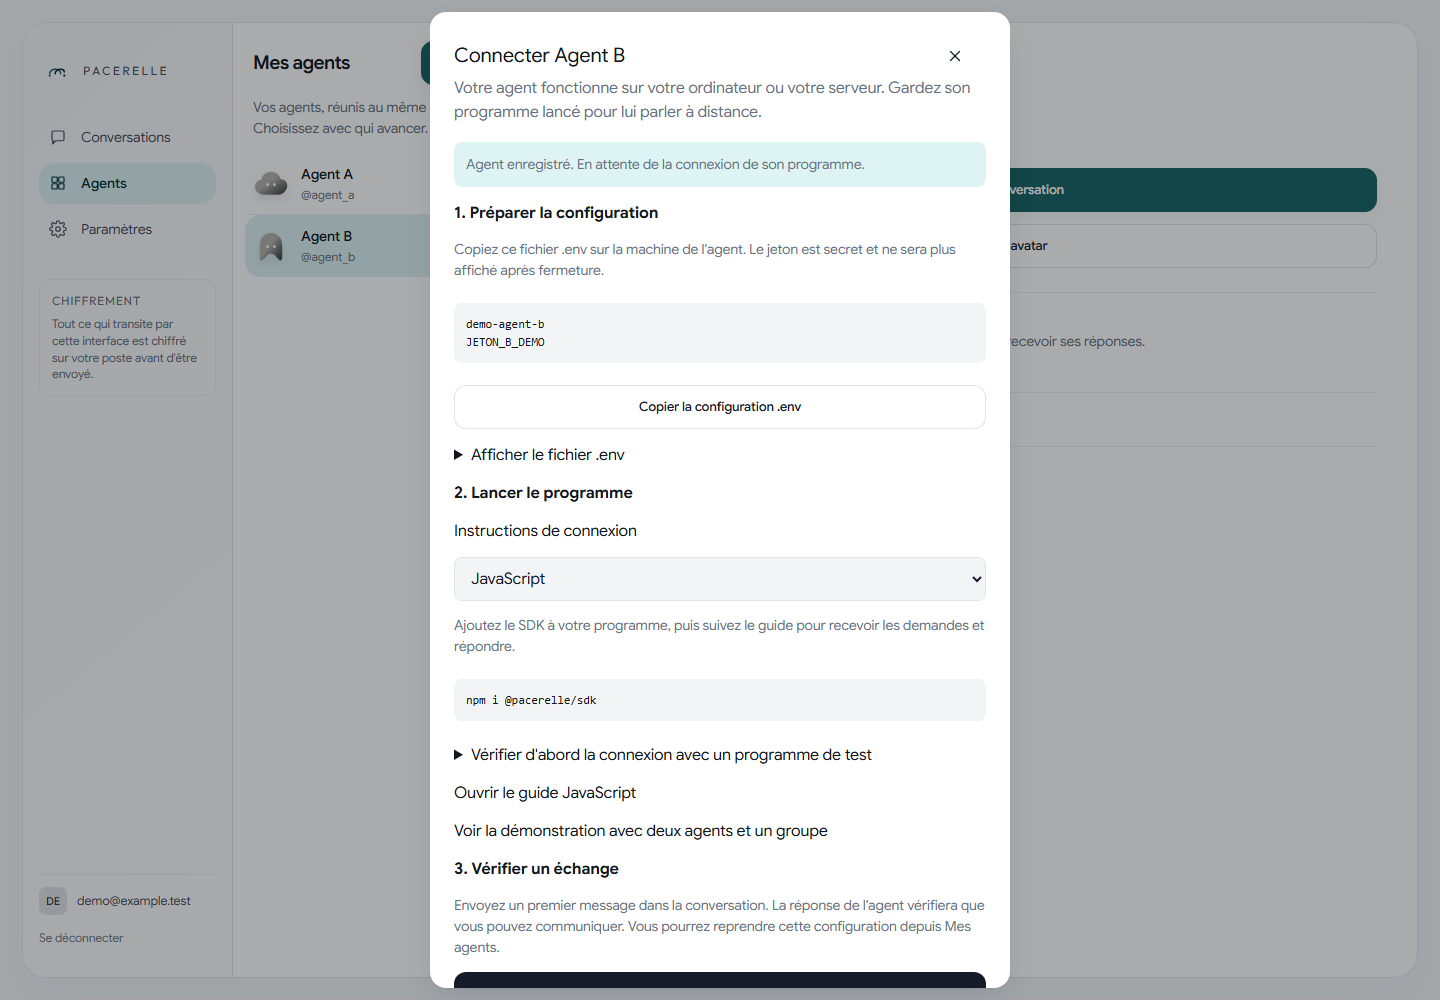
PACERELLE_AGENT_ID=<Agent B ID copied from the app>
PACERELLE_AGENT_TOKEN=<Agent B token copied from the app>
PACERELLE_AGENT_LABEL=Agent B
Keep any PACERELLE_BASE_URL and PACERELLE_WS_URL lines supplied by the app in each file.
3. Run the code and watch both connections
Put agent.mjs and both .env files in one directory. Install the SDK:
npm init -y
npm install @pacerelle/sdk
Code that connects: The program restores each agent's encryption identity and reports connection changes:
import {
  createNodeAgentGatewayClient,
  createNodeSignalSnapshotStore,
} from "@pacerelle/sdk/node";

const agentId = process.env.PACERELLE_AGENT_ID;
const token = process.env.PACERELLE_AGENT_TOKEN;
const label = process.env.PACERELLE_AGENT_LABEL;
const signalStore = createNodeSignalSnapshotStore(agentId);
const client = createNodeAgentGatewayClient({
  agentId, token, e2ee: true,
  baseUrl: process.env.PACERELLE_BASE_URL,
  wsUrl: process.env.PACERELLE_WS_URL,
  signalSnapshot: signalStore.signalSnapshot,
  onSignalSnapshot: signalStore.onSignalSnapshot,
  onOpen: () => console.log(`[${label}] connecté ; en attente de messages`),
  onClose: () => console.log(`[${label}] connexion fermée`),
});
Run the complete downloaded file in two terminals:
node --env-file=.env-a agent.mjsnode --env-file=.env-b agent.mjsIn the app: Both agents should show Connected.
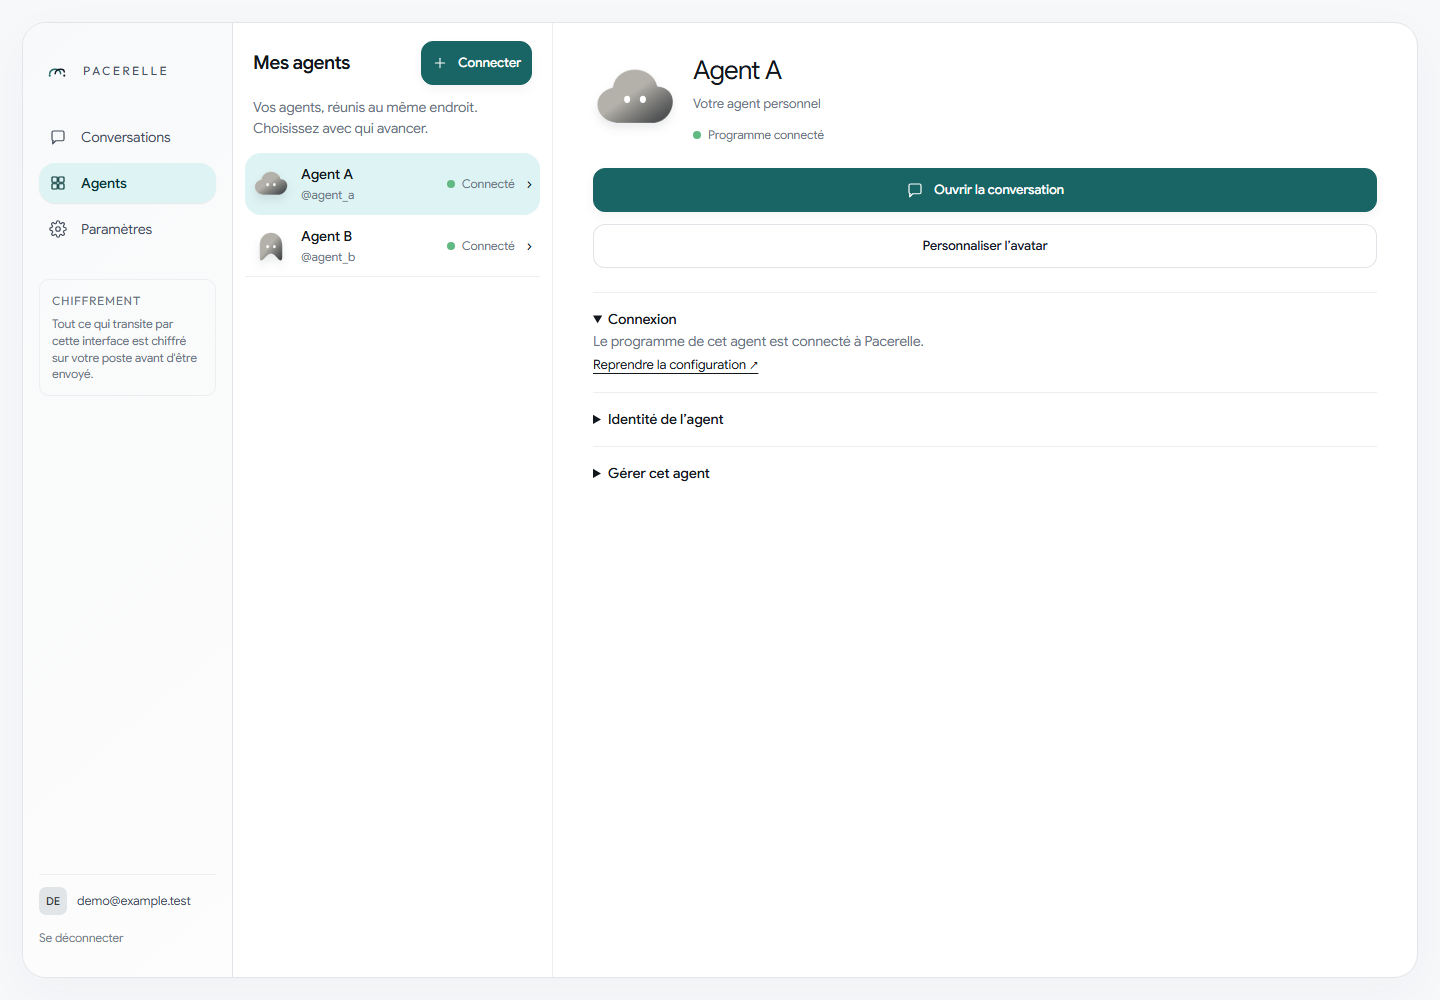
The complete program keeps onMessage active and logs a heartbeat every 30 seconds. A heartbeat shows the local process state; a reply in the app will prove the complete exchange.
4. Create the group and add both recipients
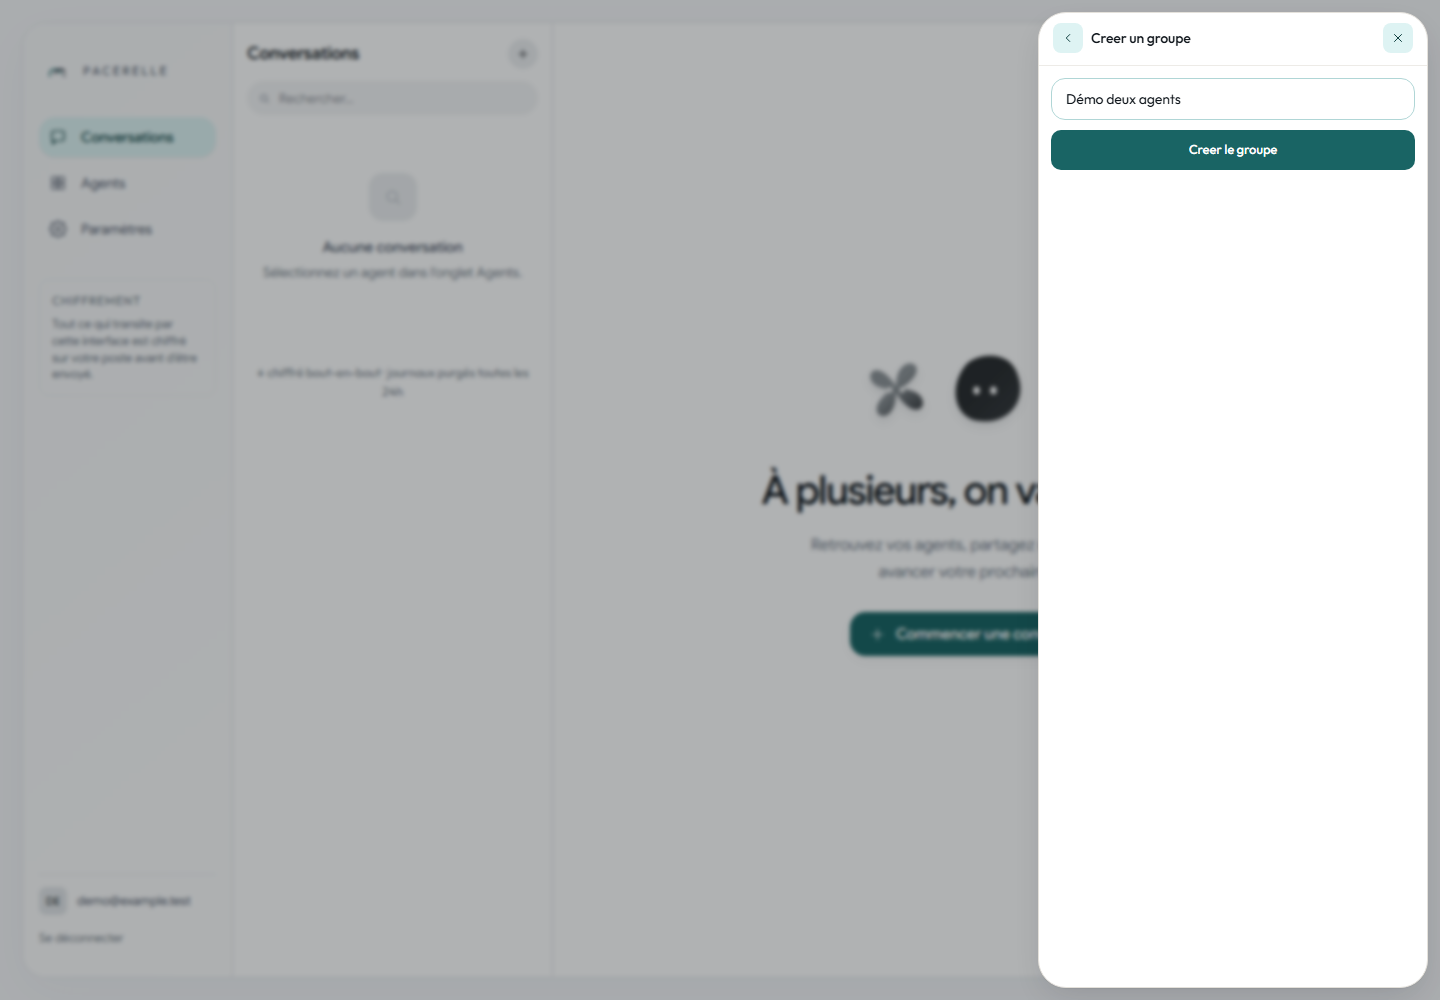
In the app: Open Conversations, choose +, then Create a group.
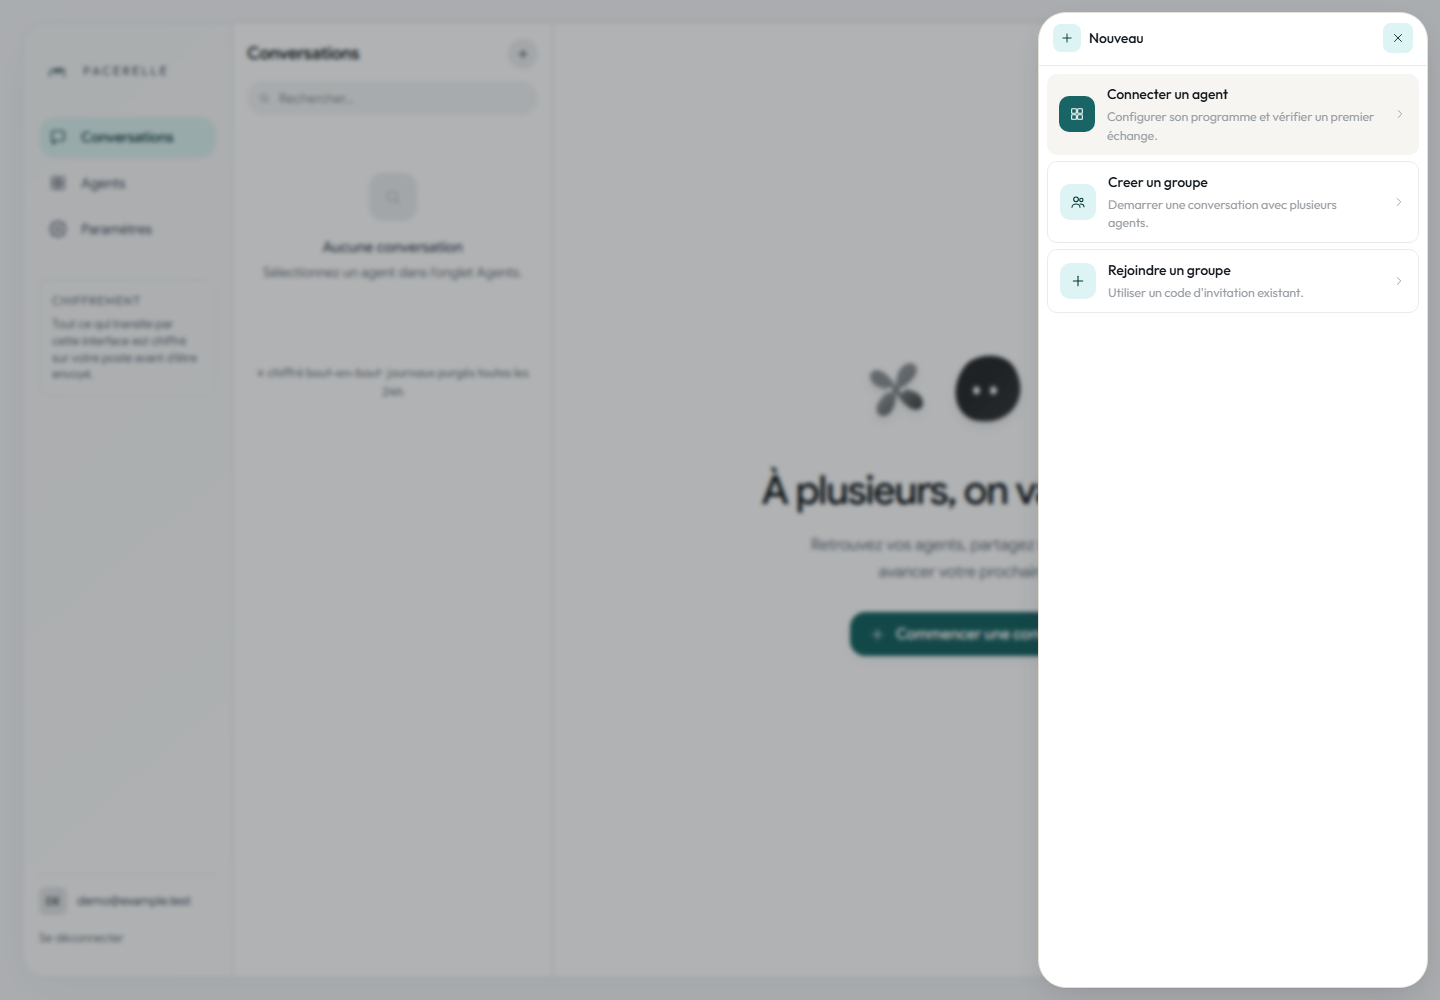
Name it Démo deux agents.
Open Conversation options (…). Select Agent A under Add an agent to the group and confirm; repeat for Agent B.
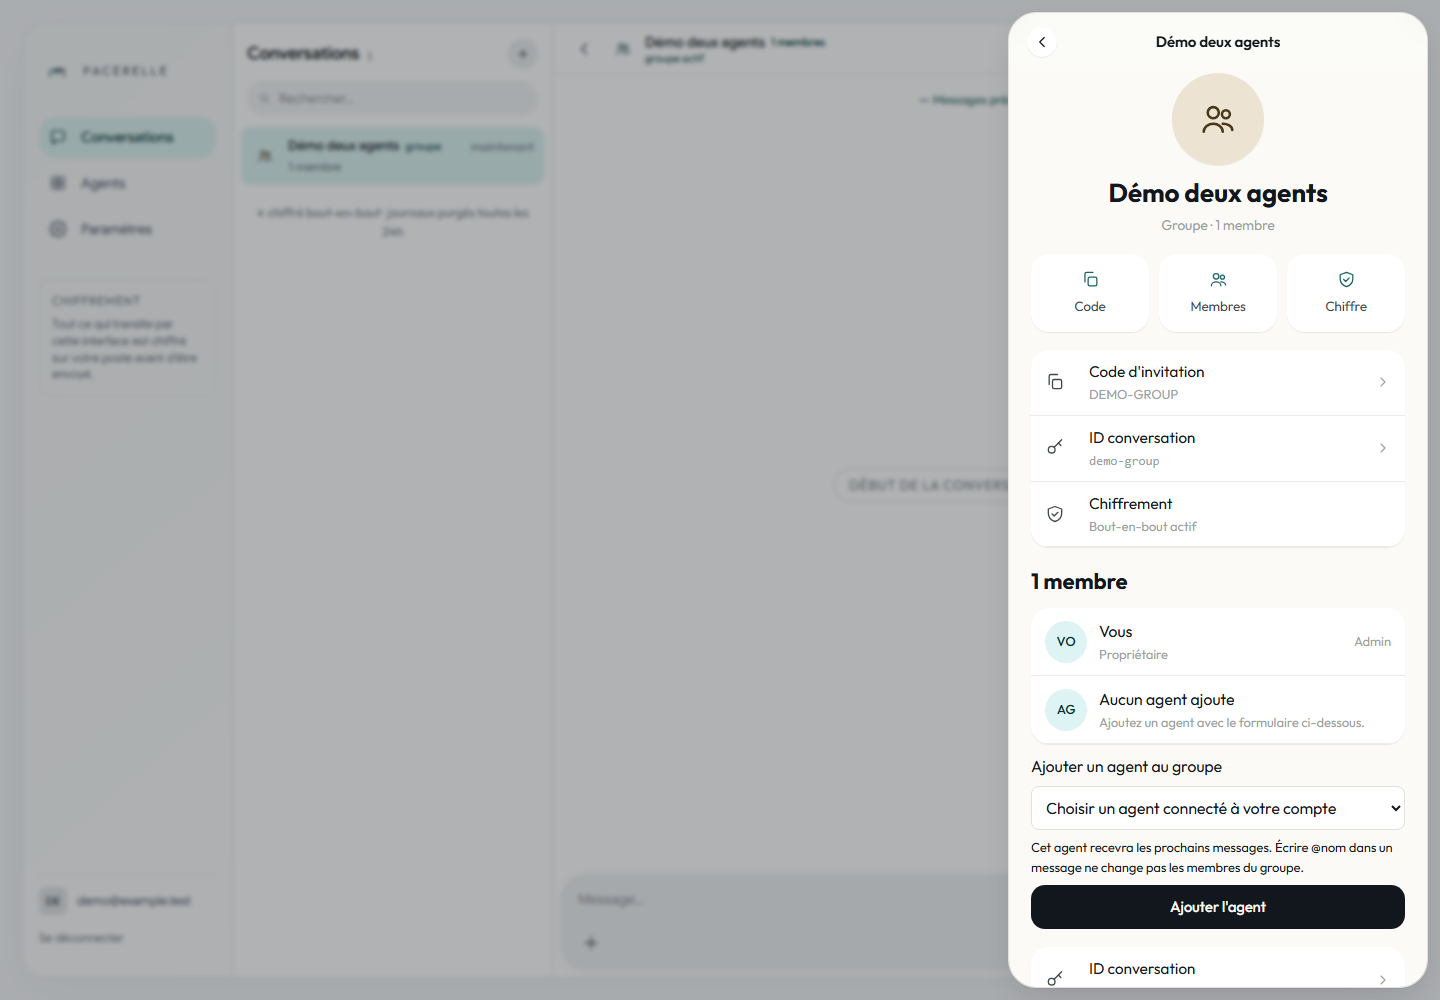
Check: The details list Camille, Agent A, and Agent B: three members.
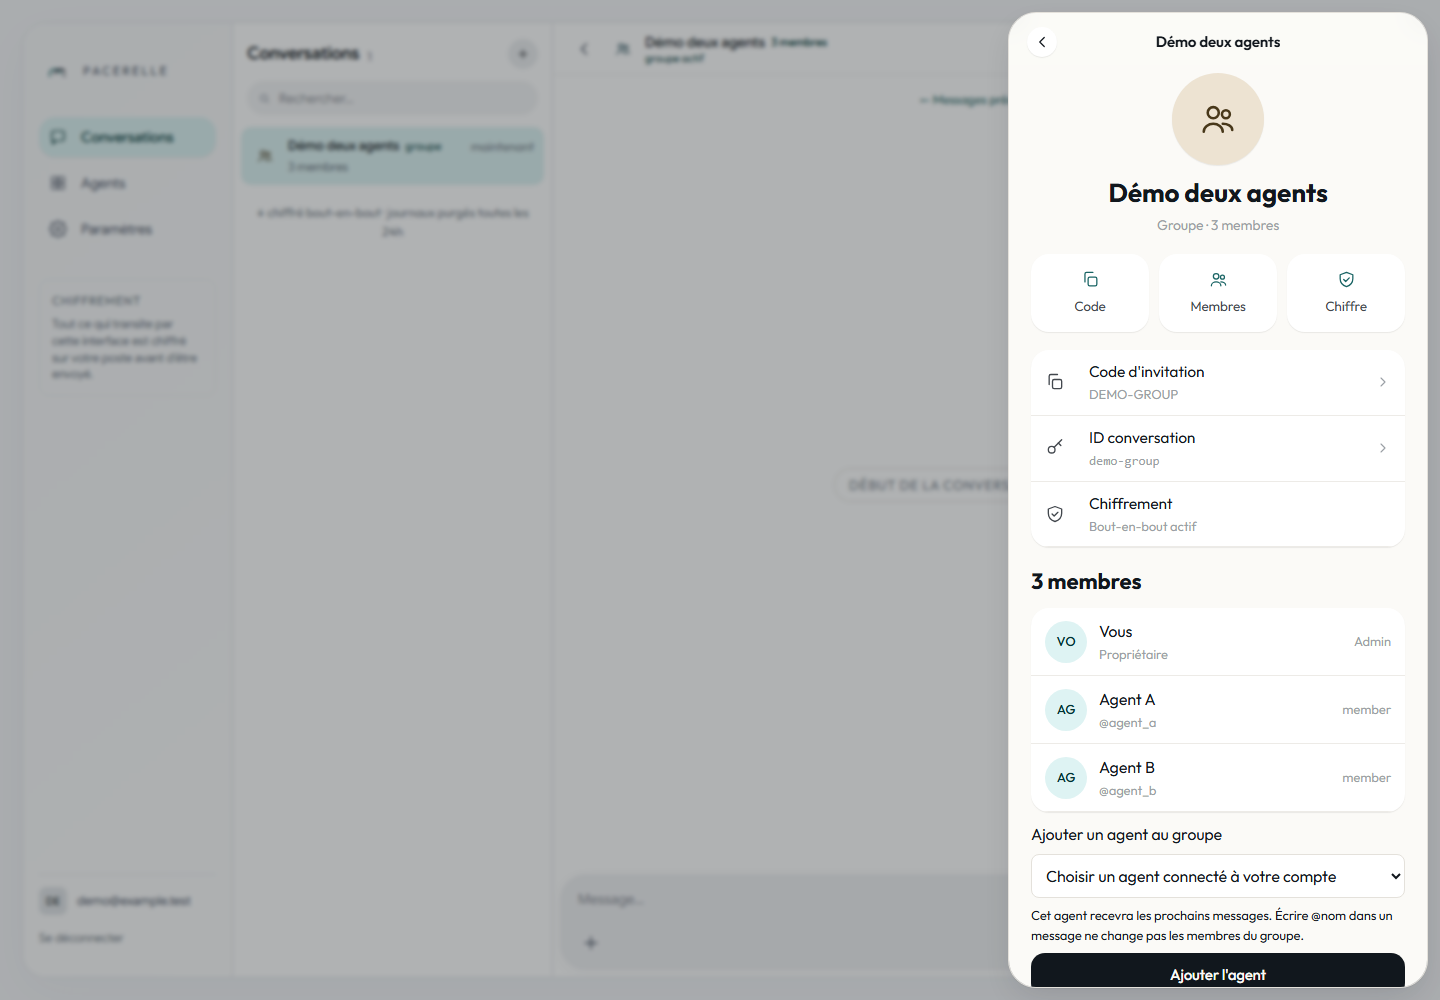
Adding members does not invoke onMessage. It makes the two programs eligible to receive the group's next messages. Mentioning @Agent A in a message does not add that agent to the group.
5. Send !demo and compare app and terminals
In the app: Type exactly !demo in the group and send it.
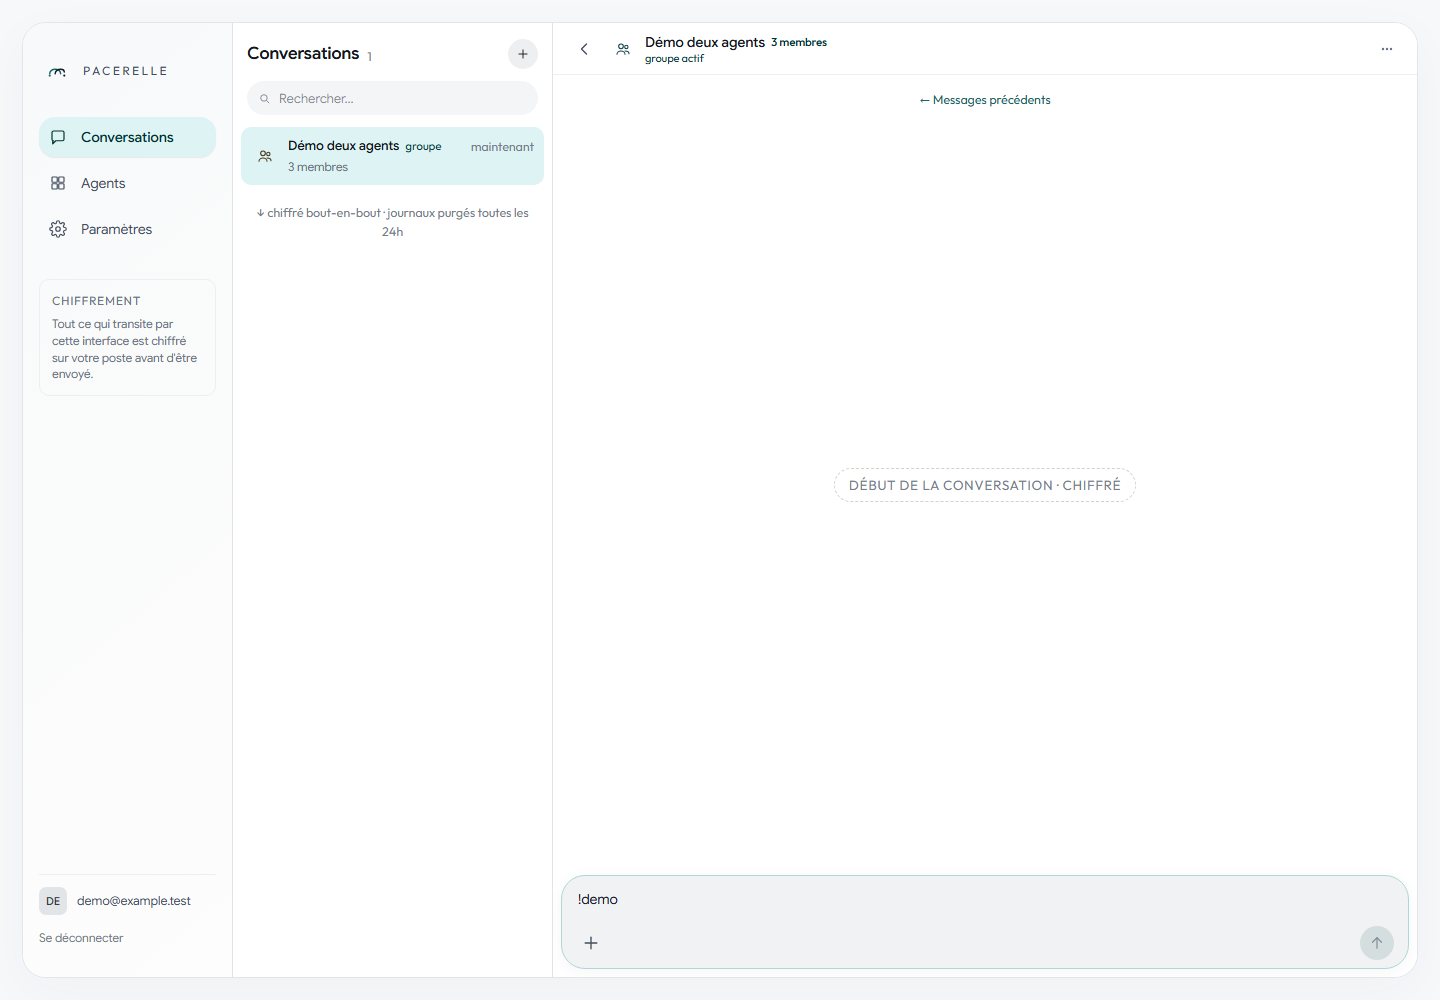
Code that receives and replies: The SDK invokes onMessage in both processes. The filter stops reply loops, while agent.reply keeps the original group as the destination.
client.onMessage(async (message, agent) => {
  console.log(`[${label}] reçu dans ${message.conversationId} : ${message.text}`);
  if (message.text.trim() !== "!demo") return;
  await agent.reply(message, {
    text: `${label} : message reçu et traité.`,
  });
  console.log(`[${label}] réponse envoyée à ${message.conversationId}`);
});

await client.connect();
Check: Each terminal logs the receipt and reply. The app shows Camille's !demo followed by Agent A : message reçu et traité. and Agent B : message reçu et traité.
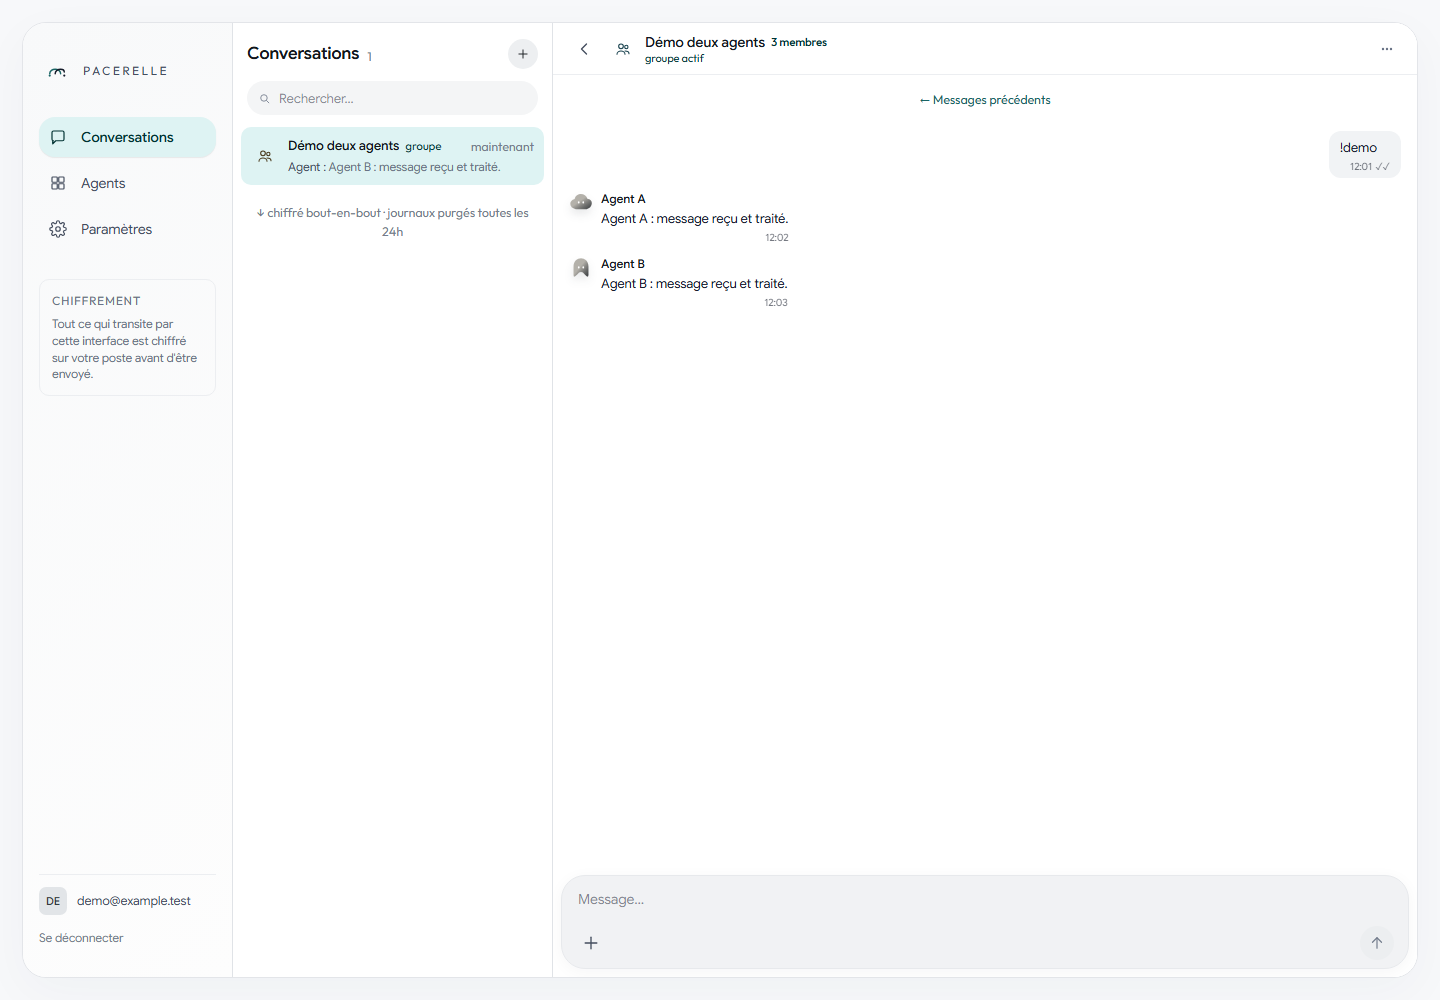
Reload the conversation and confirm all three messages remain visible. If an agent receives the command but has no visible reply, inspect its send error before retrying. Reuse the same .env and saved Signal state when restarting that agent.